DIY Contact Mic
April 25th, 2011 | Published in Contact Mic | 2 Comments
This tutorial will show you how to build your own contact microphone. It’ll cost you about $5 and take maybe 30 minutes if it’s your first time building one. Contact mics can be used to record unusual sounds when attached to various surfaces. They make good drum triggers too. This version of the mic will be a little noisy. If you want lower noise, search the web for how to build balanced contact mics.
PARTS & TOOLS:
- – piezoelectric transducer element (RadioShack #273-073A is used here)
- – mono jack (panel mount RadioShack #274-252 or cable mount RadioShack #274-340)
- – small diameter heat shrink tubing, about 5″ long (optional)
- – self mixing epoxy with syringe (optional)
- – soldering iron/solder (not needed if you use a non-solder type mono jack)
- – miniature flat-head screw driver or similar tool
- – razor blade, wire cutters, or similar tool
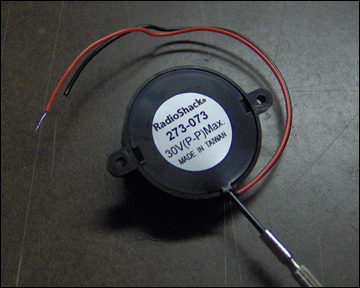
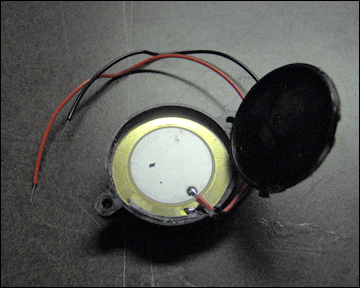
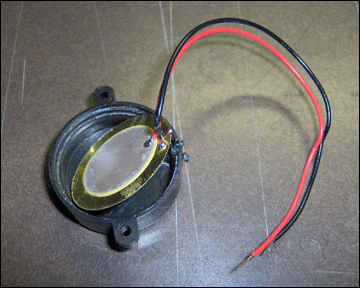
The first step is to extract the piezo element from the plastic casing. It can be a little tricky opening the case because you have to be careful not to break the piezo element in the process. They are somewhat fragile. You can start by wedging a mini screwdriver into the space where the wires exit the case. Work the screwdriver around the edge of the case while prying upwards. There is usually about 1/8″ vertical space between the back cover and the element, so you have some room for prying.
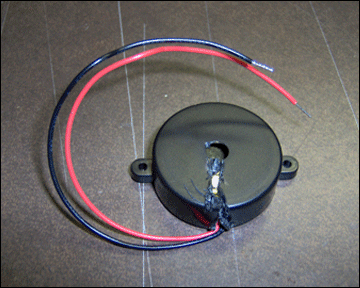
Now you have to cut open the rest of the case in order to pull out the piezo element. Use a razor blade or sharp wire cutters to cut a line from the center of the plastic case to the edge. Make sure the plastic is cut all the way through. Once this is done, carefully twist the plastic case until the edges of the piezo element separate from the edge of the case. This might be the hardest part of the project, so use whatever extraction technique that works best for you.
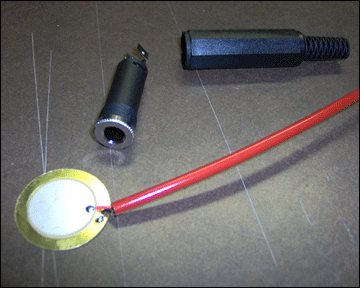
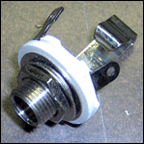
Next, break out a 1/4″ mono jack assembly. Before soldering the wires to the mono jack (upper left in photo), remember to slip the mono jack case (upper right) over the wires first, or else you’ll have to resolder. You can also use a panel mount mono jack.
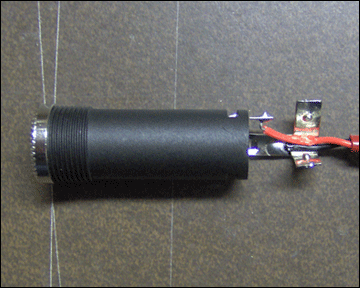
Now solder the wires to the mono jack’s solder tabs. The black wire goes to the sleeve (ground). The red wire goes to the tip (signal). With some mono jack assemblies it’s hard to tell which tab is connected to the sleeve and which is connected to the tip. Use a multimeter to test continuity if you have one. If not, you’ll have to experiment, but at least you have a 50/50 chance of getting it right first time. If you have no soldering iron, you can use a non-solder type mono jack assembly instead.
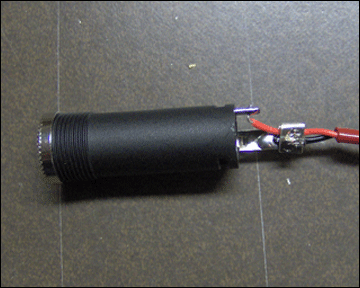
Now bend the strain relief tabs over one another and pinch them with a pliers to form a secure grip around the wires. Use an open flame or other heat source to shrink the entire length of the heat shrink tubing. Screw the mono jack into the mono jack case.
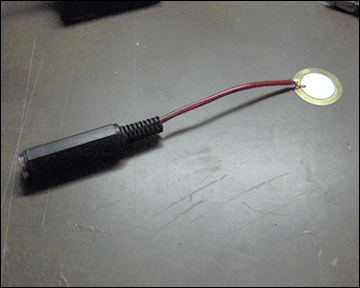
At this point your contact mic should look something like this. Test the mic by plugging it into a mixer. You’ll probably have to turn the gain up pretty high. Tap the mic and you should hear the sound. If there is no sound, first make sure the mic is connected to the mixer properly. If you still get no sound, check the solder connections on the mono jack and resolder if necessary. Also make sure the bare red and black wires aren’t touching one another or shorting out anywhere on the jack.
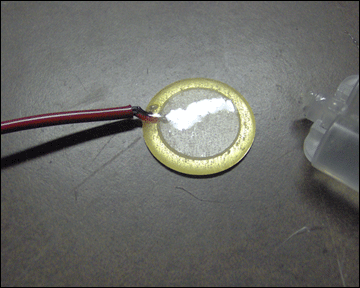
In order to make your contact mic more robust, apply a large dab of epoxy to the top of the element. This will prevent the piezo disc from damage and keep the wires from breaking off. Let the epoxy flow evenly to the edges of the element, but don’t use so much that it flows over the edges. This process is easiest if you use a self-mixing epoxy syringe because you can apply the epoxy directly to the element while maintaining control of the flow. Allow the epoxy to dry and you’re ready to begin recording and triggering.

April 25th, 2011at 12:17 pm(#)
I’m always looking for more inventive ways to use a razor blade. Thanks to this demonstration, I just found one.
September 5th, 2011at 12:58 pm(#)
I have just ordered a bunch of piezo elements to replace the old ones in my two Mattel Synsonics drum machines (1981).
Hope to get better response from the pads when hitting them.